Cloning means to create an exact genetic replica of a living material. During the cannabis plant’s life cycle there will be times when it will produce potentially hundreds of smaller growth shoots, which can be removed from the plant and left to root independently. Here are the benefits of cloning. When it should be done, how to do so, the different methods involved and some top tips to help take your cloning game to a pro level.
The Benefits of Cloning Cannabis
There are multiple benefits associated with cloning cannabis. They range from saving time, money, improved logistics and strain selection. One of the most important things to consider is why large scale farmers grow using clones. They know have the background history and may have been using it for many seasons already. They will know the growth characteristics, resistance factors and other aspects that separate it from other similar varieties.
Another benefit of cloning is rather than having to source feminized seeds, all you need is to maintain a mother plant. The role of the mother plant, as the name suggests, is to keep producing smaller clones with stable traits. It is possible to take hundreds of clones from a single vibrant mother plant. As long as the mother plant is left to grow continuously under 18/6 and at no point allowed to flower.
Furthermore, cloning is a very easy technique that once mastered will allow you to produce hundreds of genetic replicas at will. Cloning is inexpensive and can be done at home. Cloning does not require a great deal of labour, space or electricity to master.
When Should Clones Be Taken?
Clones should be taken when the plants are in a vegetative state.
A cannabis plant that has grown outdoors during the spring to summer months can produce hundreds of clones, with a prolific nature. Indoors if a mother plant is left to grow for months at a time, then she will also require a fixed light cycle of 18/6.
Some growers do take clones very early in the flowering stage. Although it may be classed as some late pruning or an effort to monster crop, it can be challenging and time consuming for the plant to revert back to a vegetative state. It can take from 4-6 weeks before a normal growth pattern has resumed.
The Different Ways To Clone
1. The Propagation Method

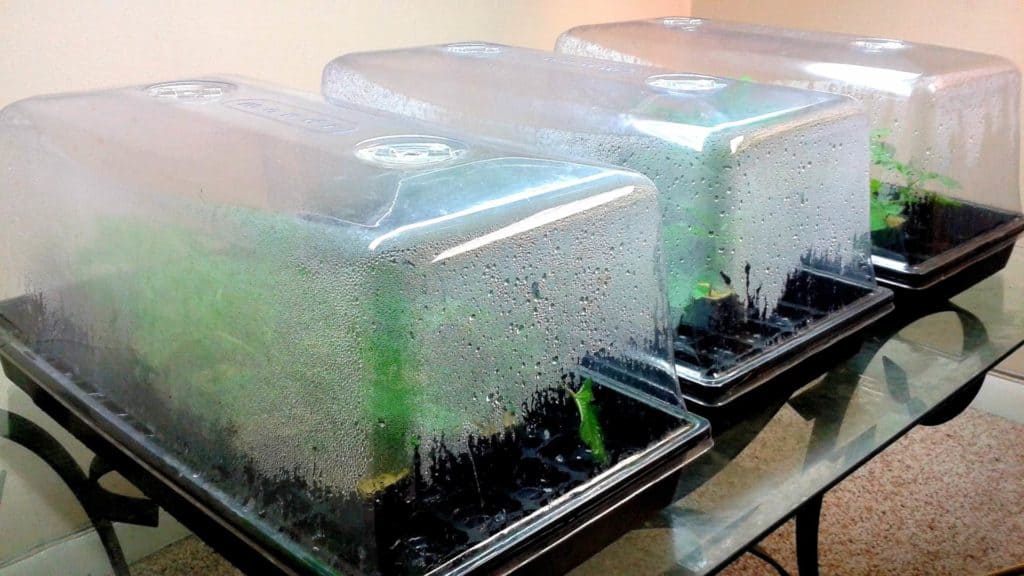
This involves rooting the clones inside of a humidity dome. The domes humidity remains very high with a temperature of 24 degrees during this process. In order to perform this method, you simply need rooting cubes or coco jiffys, a sharp pair of scissors or scalpel and some rooting hormone.
Once the clones are inside and illuminated by a low powered light, you can expect to see the first sign of roots after 10-14 days. After that point, you need to allow time for the freshly rooted clones to grow without the propagator dome. This allows them to toughen up in appearance and structure.
2. The Bubbler Method

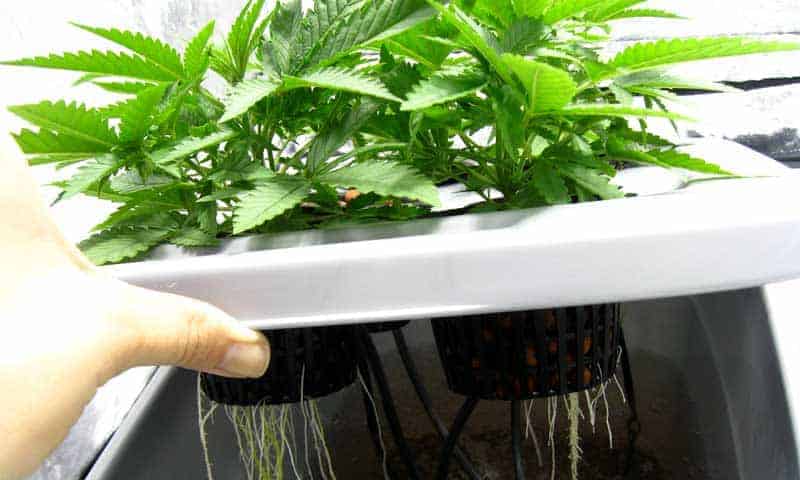
With this method, net pots and an air stone are required to produce dissolved oxygen in the reservoir where the clones will sit. The oxygenated water will provide the perfect conditions of dark, warm and wet allowing the clones to stay completely hydrated at all times.
No growing medium is used and keeping the water clean and sterile is very important. Bubbler systems will show signs of roots within 5-7 days as long as the water is kept warm (around 24 degrees). A propagator is not always necessary with this method, however, can be incorporated to ensure the humidity is perfect.
3. The Air Layering Method

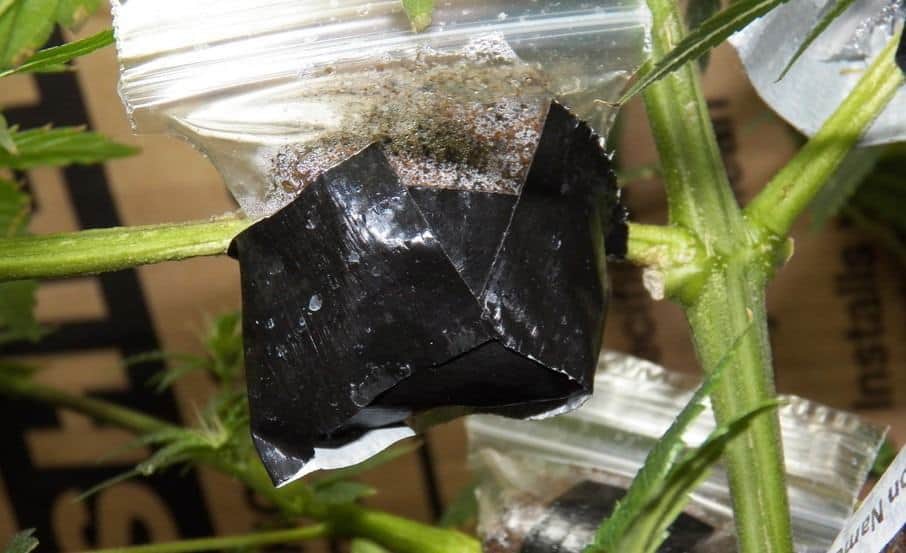
A technique that is taken from the art of Bonsai, which actually involves the clones rooting whilst on the plant. Not commonly used in cannabis farming, however the advantages of air layering are incredible for working with larger branches.
After selecting which lower branches you want to clone. You remove the outer layer of the bark with a scalpel,then treat with rooting hormone and cover up with a coco jiffy or rockwool cube. When this has been done correctly, there will be an external wrap that is covering the lower part of the selected branch.
After 10-14 days, you will be able to see the roots have grown through the rockwool or jiffy, meaning the rooted branch can be safely cut away from the plant.
Why Choose Clones Over Seeds?
There are two sides to this argument. One being that clones can be replicated very cheaply and save the hunt for new phenos. It is also easier in some places such as the U.S and Canada to work with very large numbers of clones due to the growing culture. In fact, as long as you are equipped with a medical card, it is possible to purchase and walk away from a nursery / dispensary with clones in hand.
The other side to the argument is that clones can introduce a world of problems into your garden. From spider mites to pathogens. Depending on where you live finding a clean, contaminant free source of clones is easier said than done. Cannabis growers who are on the hunt for the latest and greatest may argue that the clones have to be sourced from somewhere in the first place, so really seeds and clones go hand in hand.
A Step By Step Guide
On the basis that you are choosing the propagator method then you will need:
- Sterile and sharp scalpel or scissors
- Coco jiffy/rockwool cubes
- Rooting growth hormone such as Clonex
- A propagator
- Grow lamp set on 18/6
- Water spray bottle
- Thermometer
Step 1
Select which growth tips you will cut from the mother plant. Make sure that the branch you are removing is at least 6 inches in height, with growth shoots and leaves.
Top Tip: The more leaves and tips you can strip off below the top of the main tip will increase the amount of potential rooting sites.
Step 2
Using a scalpel or scissors, cut away all of the growth below the top shoot. There will be around 4-5 inches of bare stem where you have successfully removed the previous growth.
Top Tip: Cut away as cleanly as possible when removing any leaves or lower growth. Take your time and make sure the stem is left exposed with a wet, flesh like appearance.
Step 3
Dip the bottom 1-2 inches of the cutting into the rooting hormone. Ensuring there is a visible coat of hormone around the stem and covering all of the parts that have just been removed.
Top Tip: Double dipping your stem first into powdered hormone and then secondly into a gel based hormone can produce excellent results.
Step 4
Take your coco jiffy or rockwool cube and gently insert the base of the cutting into the cube. There should be a smooth insert. Before placing the cutting into the propagator, you will want to cut the leaves at the top down by 70%.
Top Tip: The shorter the leaves are cut down, the faster the clone will convert its energy from stem cell production to root cell production.
Step 5
Take your spray bottle and lightly mist the tops and underside of the clone before placing inside the propagator. This will help the clones settle in their new environment and force them to root as fast as possible.
Top Tip: Do not spray clones too heavily as this will cause a build up of excess moisture and water droplets inside the humidity dome.
Step 6
Place your clone inside the propagator and open the vents on the top so there is a very slight gap. You will need to keep the humidity inside the dome above 80% for at least the first 5 days.
Top Tip: Check on the humidity dome daily and wipe down the water droplets that have built up inside. Quickly removing the lid will not affect the clones as long as they are not exposed to the dry air for too long.
Step 7
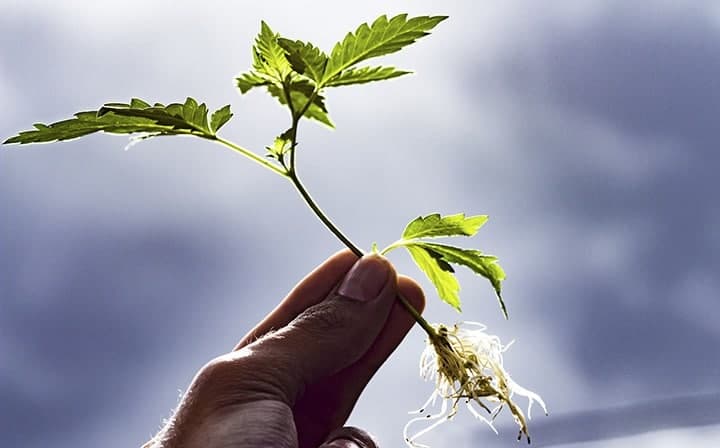
Check for signs of roots. You will see the first signs of root development after 10 days when this technique is performed correctly, with a full abundance of rooted clones by 14 days.
Top Tip: Avoid handling the clones too often until you can clearly see thick white roots. As tempting as it can be to check each one, handling them constantly could damage the delicate roots.
Step 8
Once all of the clones are showing signs of roots, take the clones and place in your veg room. Or simply take away the humidity dome and expose them to a lower humidity.
Top Tip: Clones will toughen up within 3-5 days and can be replanted and flowered if required.
